Garden Lessons: Parts of the Plant Mobile
A Mobile is a decoration or art piece people with items hanging on strings or wires. In this activity, we’ll explore the different plant parts and their functions by making a “Plant Parts Mobile.”
Supplies needed:
String
Colored Pencils
Scissors
Pencil/pen
A Bag or basket for collecting items
Optional: Beads to add to string
Step 1: Research
Use different sources to learn about the six different parts of plants: roots, stems, leaves, fruit, seeds, and flowers. Here are some good resources for learning about plant parts:
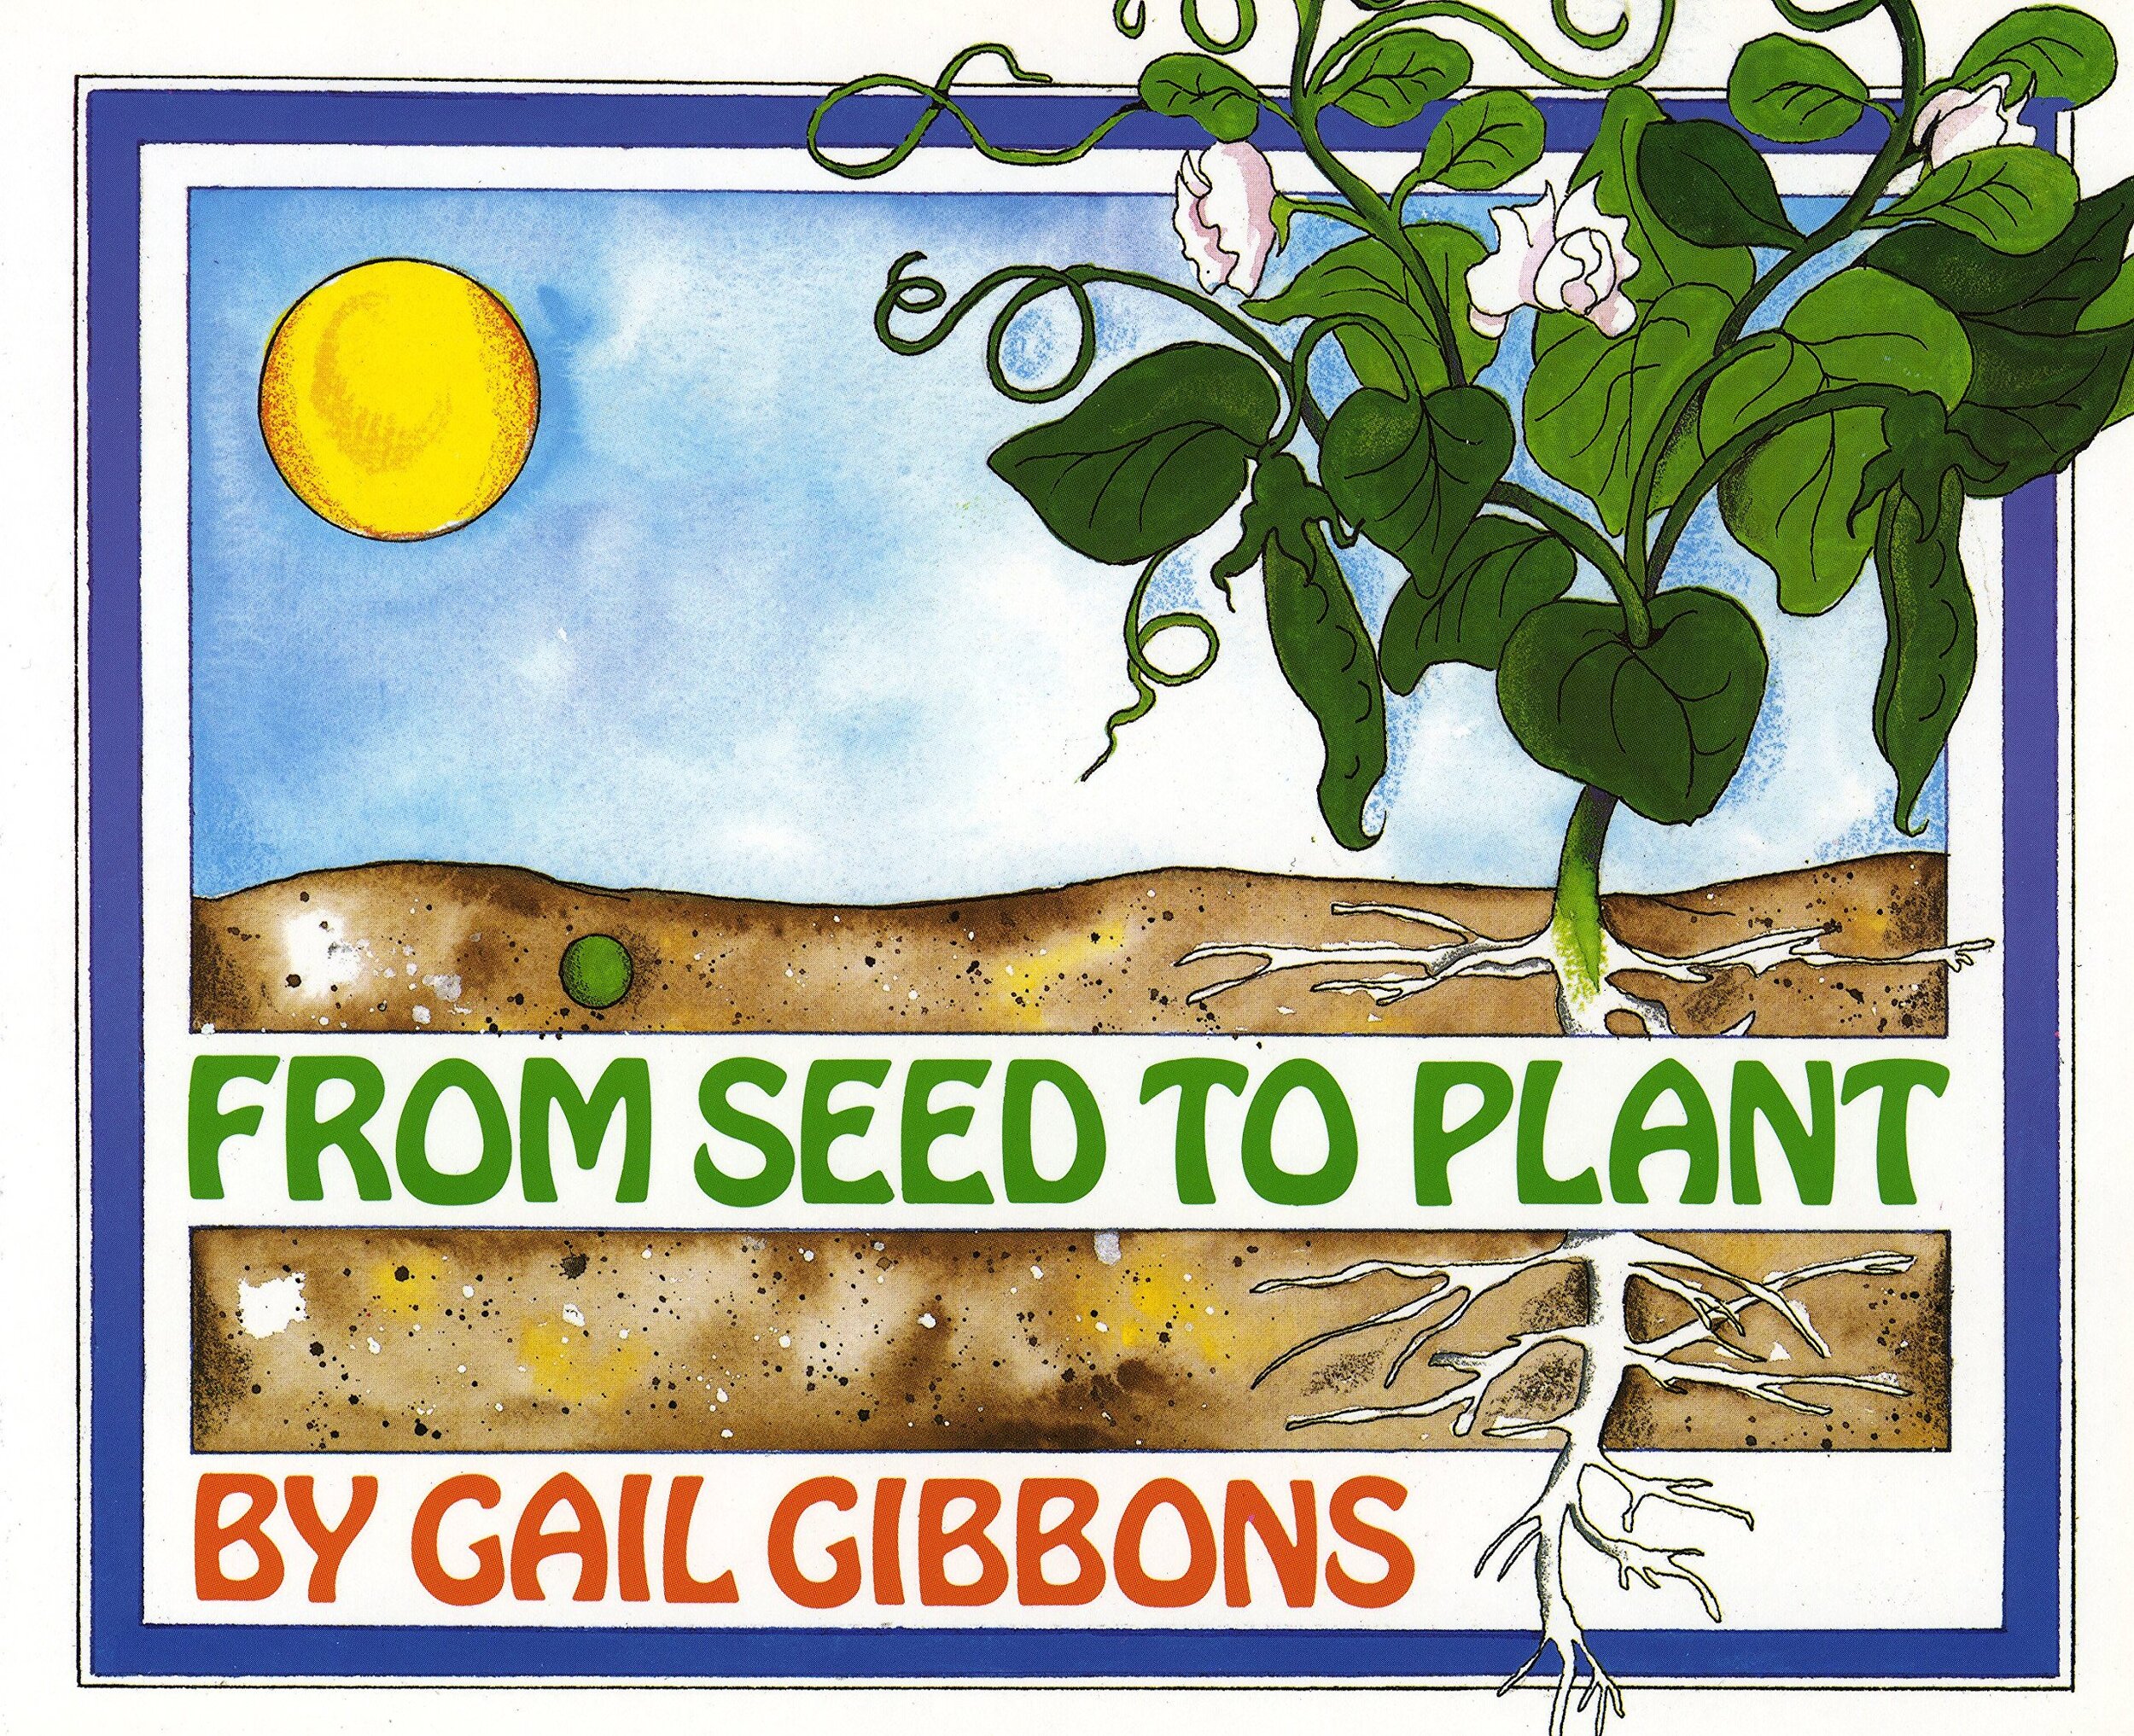
From Seed to Plant by Gail Gibbons (Check out here from the Columbus Library)
Plant Parts by Cavell-Clarke, Steffi (Check out here from the Columbus Library)
Roots, Stems, Leaves, and Flowers by Ruth Owen (Check out here from the Columbus Library)
As you read these books or watch the videos, write notes about what you learn in your Parts of the Plant Workbook. Here are some questions to get you thinking about what kind of information you can “log”:
What does this plant part do for the plant?
How is it different from the rest of the plant?
What would happen if this plant part got damaged or wasn’t there?
Leave the very end of each page in your Parts of the Plant Workbook blank, where it says “Here are some examples of ____ people eat.” We’ll get to that soon!
Step 2: Collect Your Plant Parts
Now it’s time to collect plants. You can collect these items from around your house, your backyard, a local garden, or a nearby park. Once you start looking for examples of plant parts, you’ll start to see them everywhere!
You need at least one example of each:
A root
A stem
A leaf
A flower
A fruit
A seed
Be creative in your search! Did you know pinecones have seeds in the middle? Or that if you find little berries on shrubs, they are still botanically a fruit even if you can’t eat them?
Hold onto these items- we’ll need them when we put the mobile together!
Step 3: Learn about parts of plants we eat
Read some books that include lots of examples of plants we eat. Some great books are:
Stone Soup by Heather Forest
Tops and Bottoms by Janet Stevens
Eating the Alphabet by Lois Ehlert
The Vegetables we Eat by Gail Gibbons
Vegetables in Underwear by Jared Chapmen
We recommend reading through the book once, and then reading it again to identify and list each plant in your Parts of the Plant Workbook. You can write or draw these plants at the very bottom of your pages. For example, you can draw a picture of an ear of corn on your “All About Seeds” page, because we eat the seeds of corn. Or, you can draw a tomato on your “All About Fruit” page, because a Tomato has seeds, and is therefor a fruit.
Notice there’s no “all about vegetables” page. “Vegetable” is a word we use in cooking, but scientifically there isn’t a part of a plant that is a “vegetable.” How confusing!
Once you have at least one example in each of the 6 Plant Part categories, draw your edible plant parts in one of the blank circles in your “Parts of the Plants Definition Packet,” labeling it by the correct name. For example, write “Broccoli” on the blank line, and draw a head of broccoli underneath. Did you know broccoli is actually a flower?
Draw 1-2 items per plant part (1-2 roots we eat, 1-2 leaves we eat, etc.).
Step 4: Cut out & Match everything
Now it’s time to prepare to assemble your mobile. Cut out all circles from your “Parts of the Plant Definitions Packet.”
First, spread out all of the Names of the Plant Parts, like STEM, ROOT, and others.
Next, take a look at the definitions: Match each definition or trait to it’s Plant Part. For example, the definition “The reproductive part of plants where fruit and seeds are made” you would match with your FLOWER circle. Keep matching definitions and words until there are no more definitions left.
Next, match the pictures of Edible Plants you drew in the last step. For example, we eat the leaves of cilantro, so you can match it with the “LEAVES” circle. We eat the seeds of sunflowers, so you could match it with the “SEEDS” circle. Continue matching until you have no circles left to match.
Finally, match the items you collected. Use the Square cut-out pieces in the Definitions Packet to label what item you collected. For example, “Sunflower seeds” if you collected a sunflower.
If you want, you can color code these pairs: Coloring all STEM items one color, and all ROOT items another. It’s up to you!
Step 5: Assemble Your Mobile
Finally! The SUPER fun part. Your circles, and collected materials, will hang down from string attached to your stick. The only catch is that ALL of your matched items have to stay in one group. You should have 6 strings attached to your stick. One string should have all ROOT items, one all STEM items, etc.
Use a pencil or hole-punch to make a hole for the strings to go through. You can add beads or other decorations to your mobile, too.
Step 6: Display!
Put your beautiful Mobile on display for the world to see!


